


I’ve had the privilege of creating and cooking food for family, friends, and so many wonderful people throughout my life. But aside from this rewarding passion, I have always loved a home improvement project! Taking on a task that enhances the living space gives a sense of accomplishment and the joy of learning a new skill. Now spending more time at home, one of the first projects I wanted to tackle was to replace my kitchen faucet. The old faucet was just plain fine, but I have always wanted a commercial-grade faucet that tackles the most bountiful kitchen meals and messes (and not to mention shines as the center of the kitchen).
This inspired me to start an Anja Lee Life DIY Series, where I can provide you a step-by-step guide on home improvements that possibly you can dive into someday. I hope to show you how you can improve your own living space and how easy and affordable it can be to develop your domestic skills. So let’s learn together with some DO-IT-YOURSELF tips and tools I’ve gathered through my own experience and see where this journey takes you.

Installing a Kitchen Faucet
Before shopping for a new kitchen faucet, be sure to look under your sink to check the number of holes that the old faucet valve was installed. The type of faucet you’ll be able to install will be dependent on the number of holes that you see under the sink. If you’re unsure, take photos of the pipes under your sink and ask what kind of faucet and connections you will need.
Tools and Materials Needed
TOOLS
• Basin wrench
• Small bucket
• Adjustable wrenches
MATERIALS
• Kitchen faucet
• Silicone caulk
• Supply lines
Removing the Old Faucet
Removing the old faucet is not difficult, but you will need an extra hand to get this done. In doing this, you would also need the basin wrench.
Step 1: Turn off the water valves under the sink. Then turn on the faucet to relieve the pressure in the lines. Also, if applicable, be sure to turn off the power to the garbage disposal.
Step 2: Before disconnecting anything, take a photo of the plumbing configuration. You can use it as a form of reference when you install the new faucet.
Step 3: Place the small bucket under the connections to collect water as the supply lines are disconnected.
Step 4: Have someone assist you in holding down the faucet from the top of the cabinet while using the basin wrench to remove the bolts holding the faucet.
Step 5: Remove the faucet as well as the sealant from the surface of the sink.
Installing the New Faucet
Before you install the new faucet, note that valves come in different styles, so you should refer to the installation manual from the faucet manufacturer.
Step 1: Place the rubber gasket or the trim ring just over the faucet holes drilled in the sink before setting the deck plate. Once the deck plate is in place, you can refer to the manual’s instructions concerning how to use the caulk to install the gasket.
Step 2: By this time, the faucet lines should then be fed into the holes.
Step 3: The nuts and washers should now be installed under the sink. If you use caulk for the gasket installation, wipe off the excess caulk from under the sink.
Step 4: Connect the water supply lines. You can make use of plumber’s tape if possible.
Step 5: Rotate the valve so that they are in line with the supply tubes. Slowly turn the water on while checking for leaks. If there are any leaks, turn off the valve and tighten the nuts using the wrench.
Step 6: Remove the aerator from the faucet. After this, turn the water on slowly, allowing it to run, aerator-free, for a few minutes to clear the lines.
Step 7: Switch off the faucet and then replace the aerator.

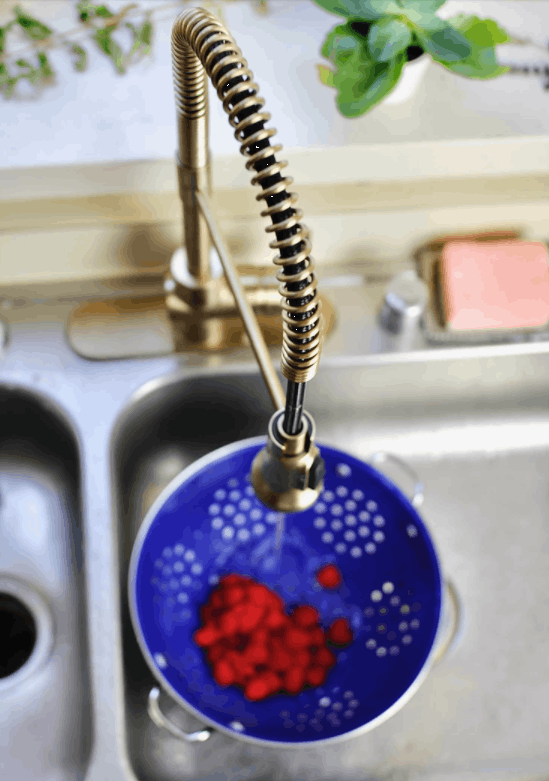
You’ve successfully installed a kitchen faucet on your own! That was pretty easy, right??
More often than not, the manufacturer’s manual instructions show how to install the kitchen faucet, and as you can see, it is not a difficult task!
If you’re considering hiring a plumber to help you with the install, you know you’ll only incur additional costs that you could save and use for other purposes. So give it a try! Trust me..this do-it-yourself project is worth your time, investment, and personal satisfaction.
Let us know what projects you’re thinking of tackling around the house. Tag us @anjaleecatering and show off your next home improvement project!

")


+ show Comments
- Hide Comments
add a comment